Taking on any landscaping project at home can be stressful. There are a number of tools and materials to consider, along with coordinating delivery times, ensuring you have all the proper safety gear and permits if necessary, and deciding where everything is going to live even temporarily as your work progresses. However, if you follow the proper landscape design process, it doesn’t have to be.
Having a step-by-step guide to your landscape design can help you limit the amount of time, energy and money that goes into your project. The first step above all is to create a plan and stick to it. Whether you’re working with a landscape designer or developing everything on your own with some extra support, you need a landscape plan that works for your vision.
The following are some key steps to consider in your landscape design process.
The Benefits of Landscape Design: Where to Start
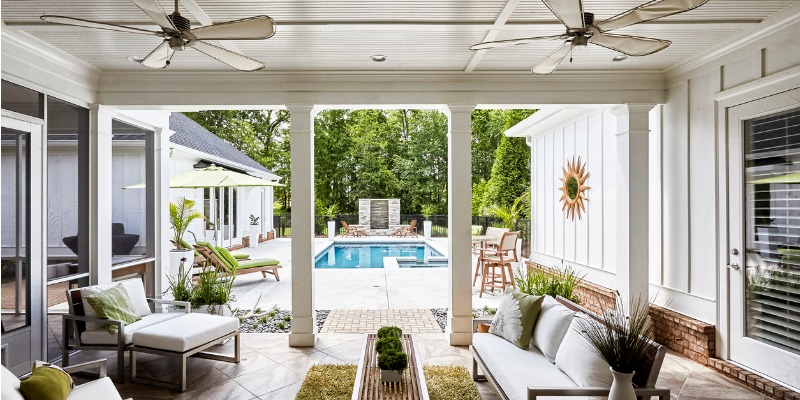
Whether you’re taking on a landscaping project to prep your house to sell, or you just want a change of scenery, having beautiful landscaping is integral to making your home look as stunning as you’ve always dreamed. The right landscaping is eye-catching, but it also offers serenity and functionality.
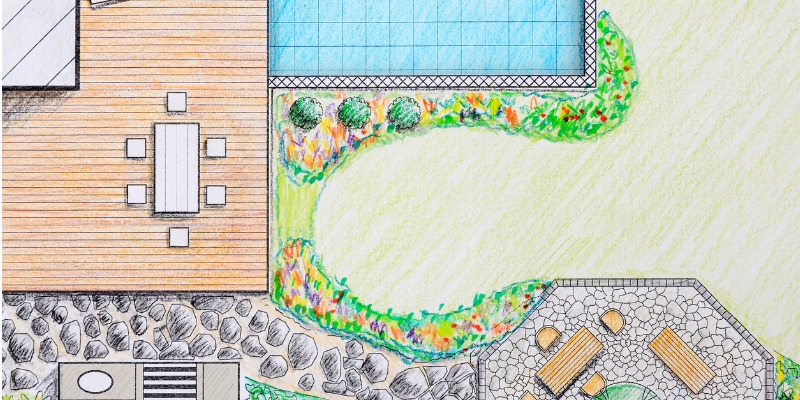
As with any project that involves construction, you need to create a design ahead of time to have an end goal to thrive for. Draw a rough sketch of what you would like to have done from an aerial point of view. Then take measurements to ensure everything you want to include will fit and not overcrowd the area.
When putting your blue print together, there are a number of things you need to consider. What the space will mainly be used for, what types of trees and plants you want, your overall budget, time you plan to spend and resources need to all be thought through carefully and committed to during construction.
Having ideas are great, but if you’re not an expert or you don’t feel as confident tackling such a huge project alone, you may want to work with a landscape designer on your project. Their vast knowledge can help you get the most out of the space and achieve your overall vision. Make sure to read up on all local by-laws if your plan may need to adhere to any of them.
Next Steps in the Landscape Design Process
After you’ve met with your landscape designer and have a set plan, start demolition on all unwanted surfaces and structures if there are any. Make sure all utility or irrigation lines are installed if necessary. Build any retaining walls if applicable, and construct all hardscapes such as patio, decks and pathways. This will lay the foundation for your project.
If you are adding an outdoor kitchen or fire pits, install those before starting to plant. All flowers, plants and trees should be added last and follow the main outline, though you may find you want to position a few plants in different areas as you go.

The Final Steps
Check to ensure that all irrigation, gas and electrical systems work, and conduct one last clean up and inspection to look for any irregularities or small changes you want to make.[1] That’s it! Now you’re ready to enjoy the space and the fruits of your labour. Invite some family and friends over to show off your hard work.
For more information and advice on building a landscape design through Natural Landscape Group, check out our video. We take pride in listening closely to your ideas from the moment you contact us and working to transform those details into a 3D model that is fully customized to your vision down to every last feature.
If you’re looking for additional advice on a landscape design process for your home that hasn’t been covered here or in our video, contact the landscaping experts at Natural Landscape Group.
[1] The Residential Landscaping Process. Landscaping Network. Available online https://www.landscapingnetwork.com/landscape-design/process.html.

